Image post-processing means manipulating an image in software like Adobe Photoshop to enhance detail and create an overall more appealing or informative image. But post-processing cannot reveal image detail that was not captured by the camera. Ideally, post-processing occurs on the original RAW file before the file is converted to other formats, eg .jpg or Zoomify
There are at least four processes that can be applied to an image after it has been processed into RGB data and white balanced:
- Increasing edge contrast (sharpening) to better reveal the structure of the subject.
- Setting the black (0) and white (255) points to just encompass the entire dynamic range of the subject.
- Equalisation masking to more equitably render different areas of the subject.
- Local contrast enhancement to better separate light and dark distinctions within the subject.
See also:
Download Introducton to Resolution [.pdf 3.7MB]] for an overview of using unsharp masks.(Courtesy of Dr Les Walkling)
Example of post-processing
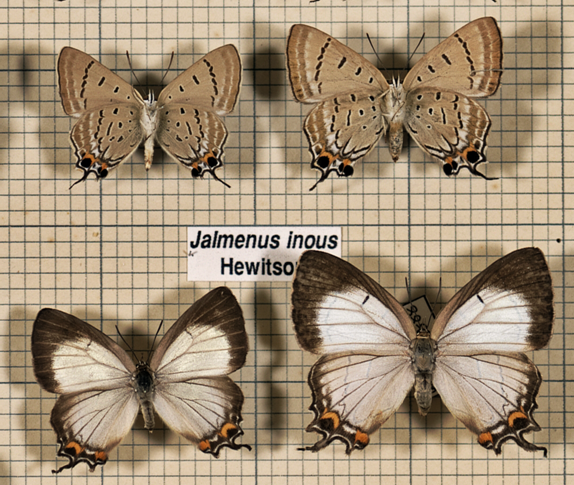
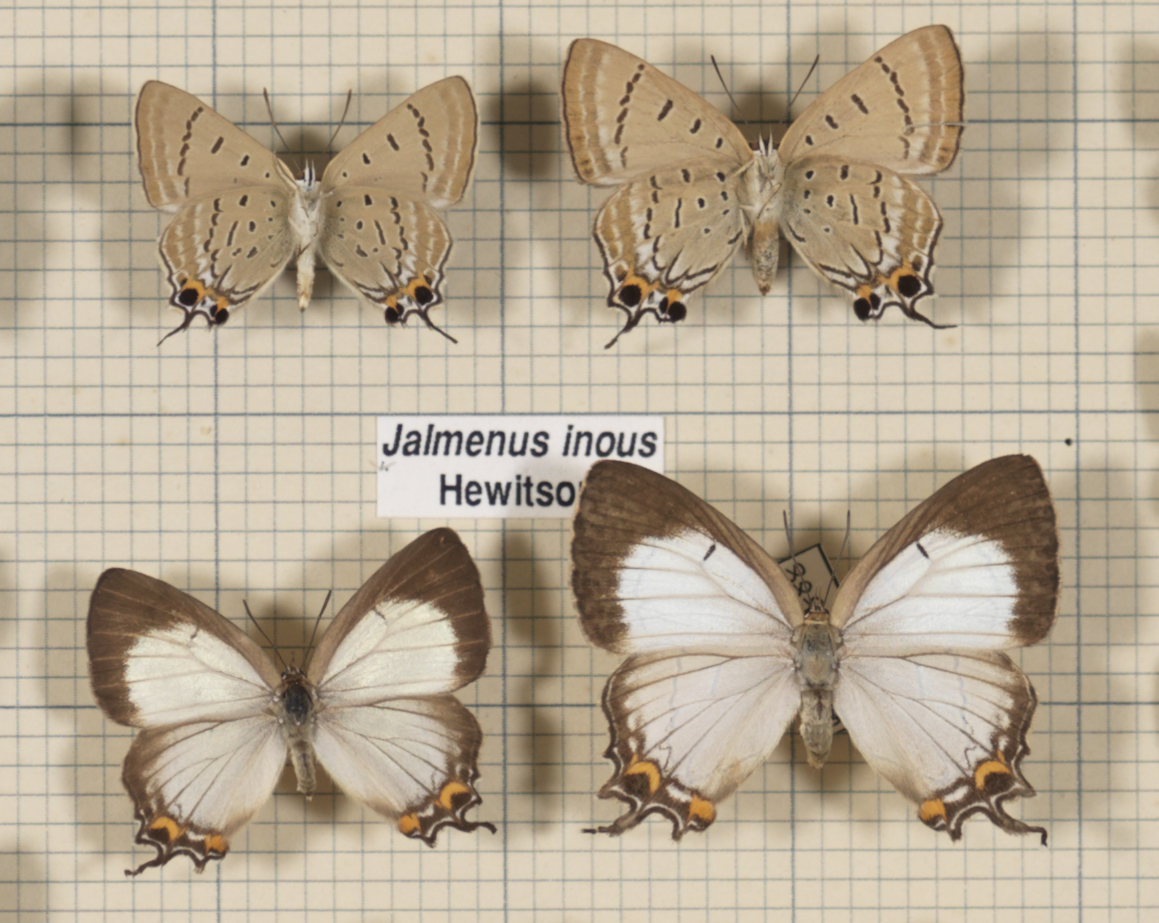
The following image is a simple example of the four steps as separate adjustment layers in a Photoshop file.
Compare this with the original image.
Notes:
- The image is a cropped section from a jpeg file.
- The image was converted and downsized to jpeg format before post-processing, thus reducing the image quality available for post-processing.
- The image also illustrates the problem of not using sufficiently diffused lighting. In this example, the shadows visually compete with the specimens rendering them less comprehensible than they could be.
Pictures courtesy of Geoff Thompson, Queensland Museum
Words by Les Walkling

