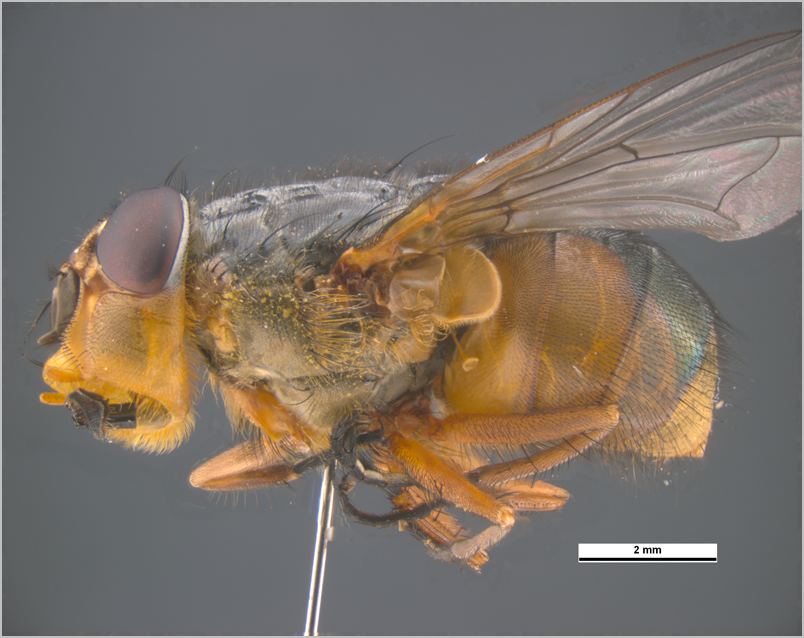
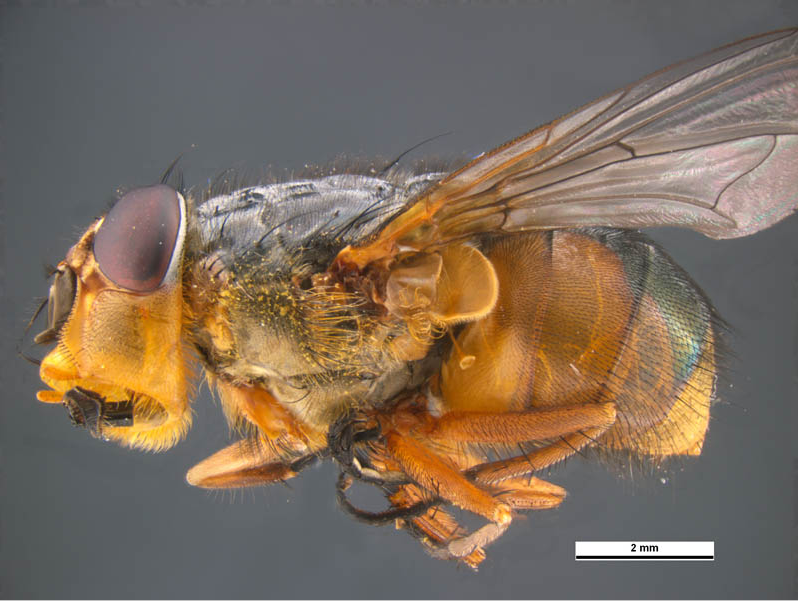
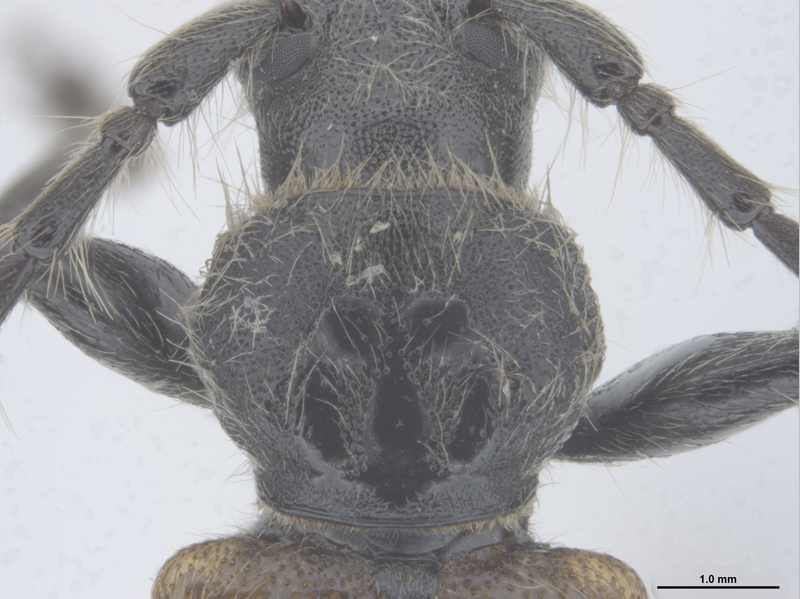
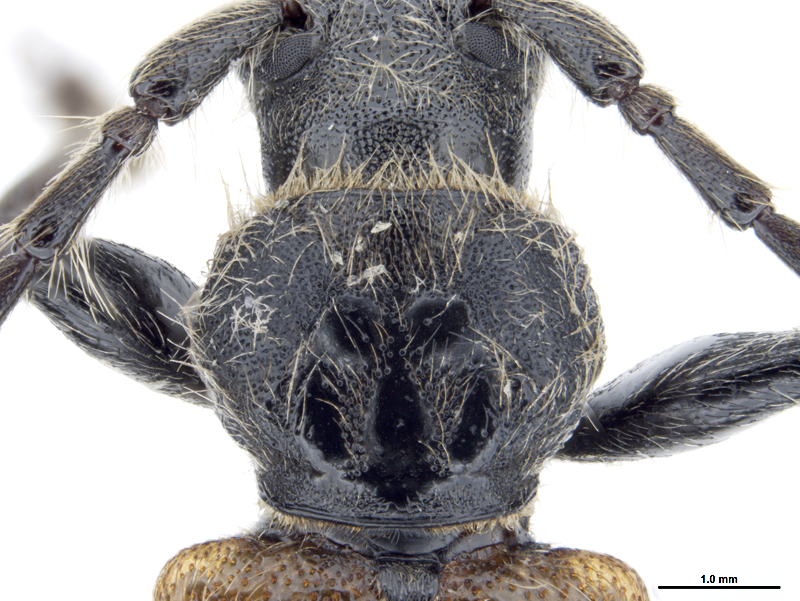
Polaroiding is a form of post-processing used by Ken Walker at Museum Victoria. All images on PaDIL have this technique applied before publication.
Ken observes, ‘I find that using this technique gets over many of the inherent problems of web delivery of jpgs to non-colour calibrated PC monitors.’
How to do Polaroiding
Follow these steps to Polaroid an image. (Steps are illustrated using Adobe Photoshop, but any image manipulation software with equivalent functionality can be used.)
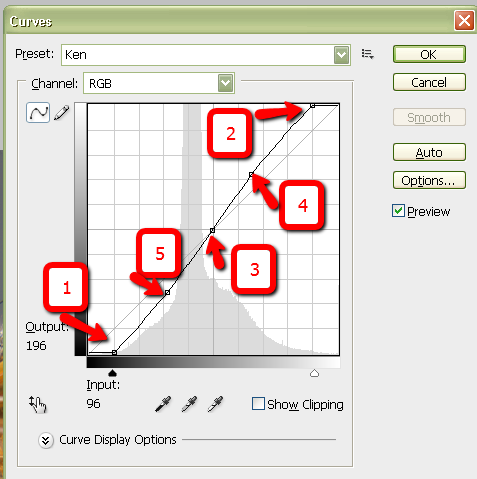
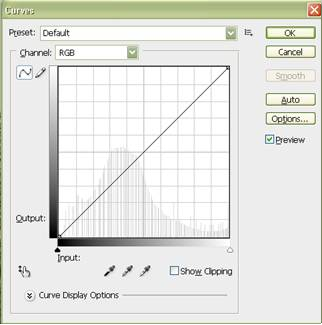
1. Set the basic contrast curve
Open the Curves window (Ctrl-M).
Set the 5 points as shown.
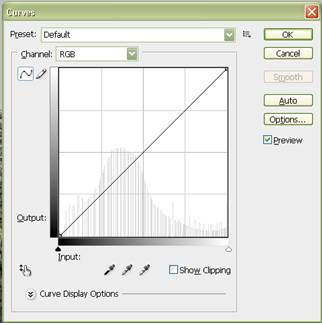
2. Save the curve for future use
Hint
To get smaller grids in the curve box, click your mouse inside the grid box while holding down the ALT key!
 |
 |
3. Set levels
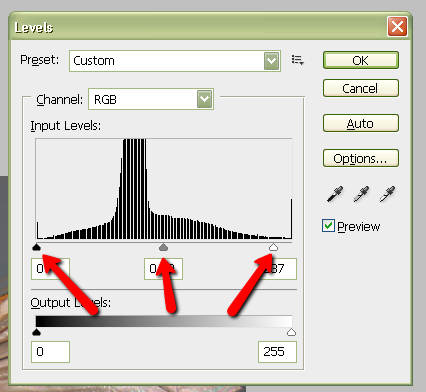 Open the Level window (Ctrl-L)
Set the black (0) and white (255) points to just encompass the entire dynamic range of image.
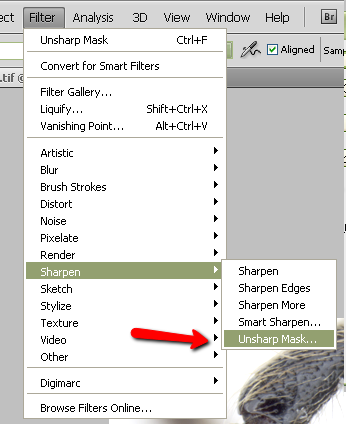
4. Sharpen the image
Open the Unsharp Mask window (Filters > Sharpen > Unsharp Mask)
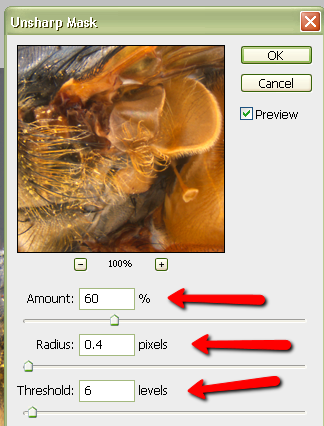
Set parameters to: Amount 60% Radius 0.4 pixels Threshold 6 levels
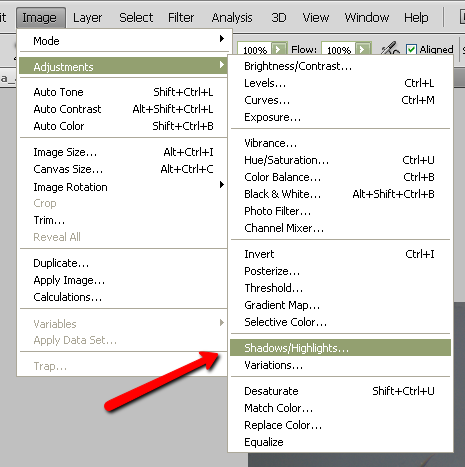
5. Set shadows and highlights
Open the Shadows/Highlights window (Image > Adjustments > Shadows/Highlights)
Adjust as necessary to even out the background. You may need to only adjust the highlights.
All images courtesy of Ken Walker. Images of Semanotus bifasciatus originally provided by AQIS- Melbourne; the specimen was intercepted from China.
